There are several ways to define an image for a staff member. In the following article, we will look at the following options:
1. Manual upload - user data profile
2. Manual upload - signature editor
3. Automatic upload - integrations
Tip. Define the size in which the staff picture should be displayed in the signature within your signature template and upload a picture that is twice as large as the final display size. This will ensure that the image is displayed correctly, even at high resolutions.
1. Manual upload - user data profile
Open the employee profile of the colleague concerned (Company -> Employees -> Select employee).
Open the user data (blue button: "Edit user data").
Select the data profile for which you want to upload the picture (if you want to define the picture for all data profiles, it does not matter which profile you select)
Open the photo dialogue box (Photo -> Details)
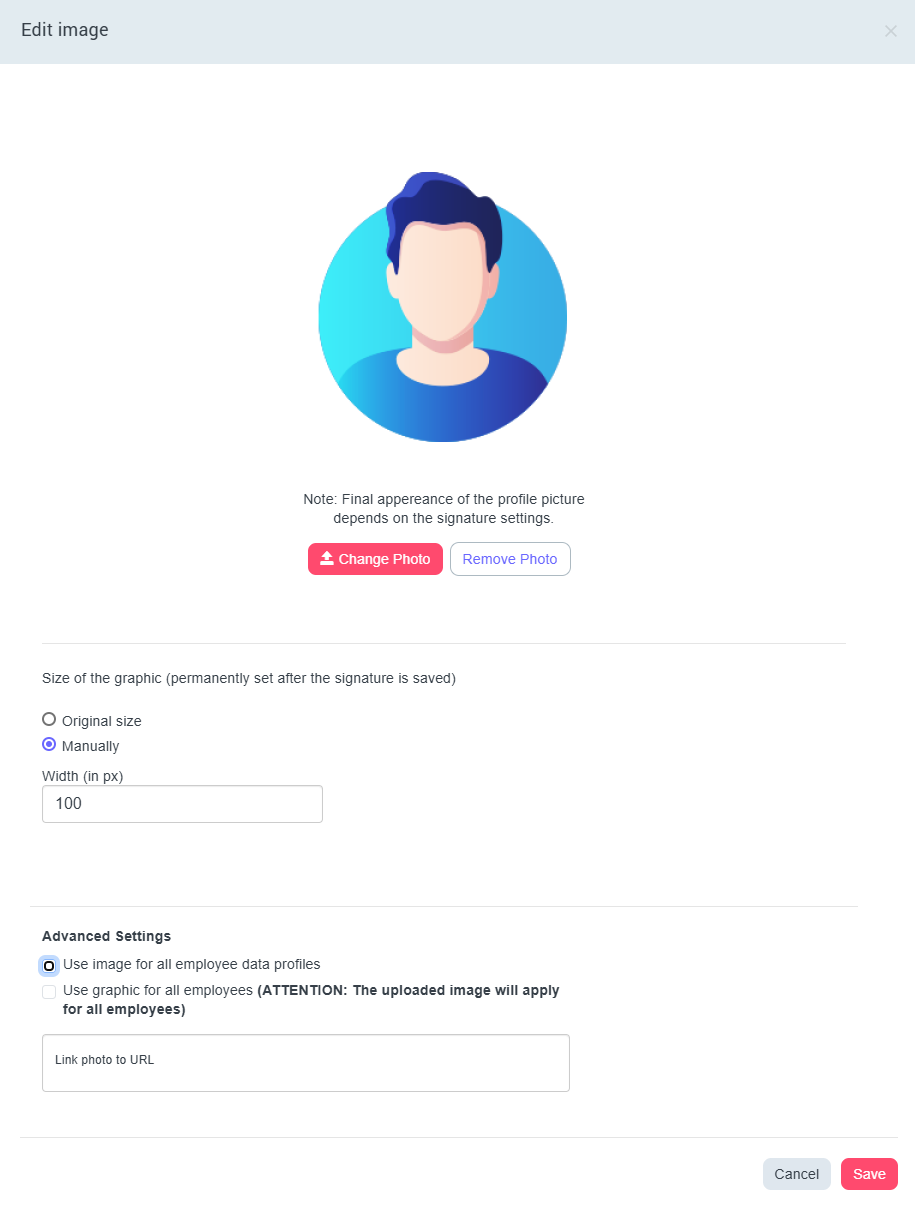
Upload the user picture and define for which data profiles the user picture is to be adopted and whether it is to be linked, if applicable.

2. Manual upload - signature editor
If you would like to see directly how the new image looks in the signature, you can follow the instructions below:
Open the editor mode of the desired signature (Signatures -> Signatures -> Select signature -> Click "Edit signature").
Switch to the employee placeholders in the right-hand navigation bar
Open the staff placeholder "Photo" by clicking on "Edit"
Upload the user picture and define for which data profiles the user picture is to be taken over and whether it is to be linked, if applicable.
3. Automatic upload - integrations
If you maintain the employee pictures in a directory such as G Suite or Azure AD and have set up the corresponding integration (Navigation - Integrations), you can also synchronise the corresponding employee pictures from your directory to Signitic Coral.
Do you have any further questions?
No problem, we will be happy to answer them personally! Simply use our free Live Chat (bottom right).